A practical, field-tested method to size, choose, and place desiccants for 20-foot containers of green coffee. Includes rules of thumb by route and season, an example calculation for 19 tons, water activity targets, and a placement checklist to stop container rain.
We cut container moisture claims by 90% in one season using the same system you’re about to read. It wasn’t one magic product. It was a simple, disciplined workflow: measure the coffee, calculate the moisture load, pick the right desiccant, then place it where it actually intercepts condensate. Here’s how we handle coffee bean shipping packaging, moisture control, and container specs at Indonesia-Coffee.
The three pillars of reliable moisture control
-
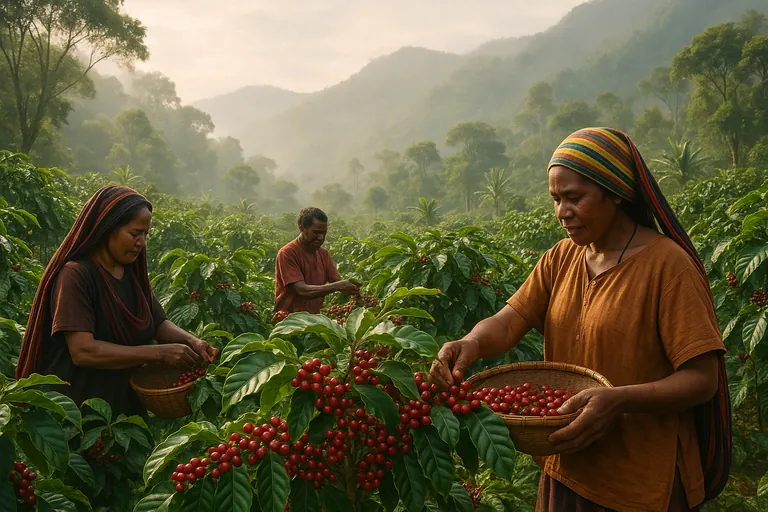
Start with stable beans. Green coffee that ships at 10.0–11.5% moisture and water activity at or below 0.60 stays calm in transit. We verify both. Moisture meters alone can mislead, which is why we spot-check water activity for premium lots like Arabica Bali Kintamani Grade 1 Green Coffee Beans and Gayo Long Berry Green Coffee Beans.
-
Control the environment you can’t see. Containers sweat when steel walls dip below the air’s dew point. That’s “container rain.” Your job is to keep internal RH lower than the dew point threshold and give moisture somewhere to go. That’s the combination of desiccant and airflow.
-
Match desiccant to the voyage. Duration, climate bands, and container condition matter more than anything. We size for the worst 10% of scenarios on the route, not the average. This is where most claims are born.
Step-by-step sizing for a 20 ft container of green coffee
Here’s the practical method we use for coffee container desiccant calculation. It takes 10 minutes and saves months of headaches.
- Confirm bean condition.
- Moisture content: target 10.0–11.5%. (Never load above 12.5%.)
- Water activity: ≤0.60. For aged lots like Musty Cup Green Coffee Beans (Aged Arabica), we’re even happier at 0.50–0.58 aw.
- Bag material matters. Jute releases and absorbs moisture faster than hermetic liners. Jute-only loads need more desiccant.
- Choose desiccant type.
- Calcium chloride desiccant is our default for containers. It keeps absorbing at high RH and can hold 200–300% of its weight as liquid brine. Silica gel stalls above ~60% RH and tops out around 25–40% capacity. For “shipping humidity coffee” routes through the tropics, CaCl₂ wins.
- Apply route and season rules of thumb for a 20 ft box with bagged coffee.
- Temperate-to-temperate, 30–45 days: 8–10 kg CaCl₂.
- Tropical/monsoon segments or rainy season, 30–45 days: 10–14 kg.
- 45–60 days total transit or multiple transshipments: 14–18 kg.
-
60 days door-to-door or winter-to-summer extremes: 18–20 kg.
- Adjust for container condition and packaging.
- Add 2 kg if the container is older or ventilation seals look tired. Add 2 kg if floorboards are damp or the container was just washed.
- Using a full hermetic container liner reduces ingress significantly. You’ll still need 2–6 kg inside the liner to capture the residual cargo and air moisture. If the liner isn’t perfectly sealed, use the standard quantities.
- Convert kg to units and placement.
- Most hanging strips are 1–2 kg each. For 14 kg total, that’s 10–12 strips. Space them evenly along both side walls and just behind the doors.
Example: desiccant calculation for a 20 ft container with 19 tons of coffee
Scenario: 320 jute bags of Arabica, 19,200 kg net. Belawan to Rotterdam, 38 days, rainy season departure, one transshipment, standard container, no liner. Beans at 11.2% MC and 0.58 aw.
- Base recommendation for tropical 30–45 days: 10–14 kg.
- Add 2 kg for rainy-season origin humidity and one transshipment.
- Total: 12–16 kg. We’d install 14 kg using 12 strips of ~1.2 kg CaCl₂ each. Two go just behind the doors. The rest are split along the side walls, 20–30 cm below the roof, spaced 50–80 cm apart. We keep a 5–10 cm gap from any bag surface so brine pouches aren’t compressed. This setup has prevented container rain for us on this lane.
Do you really need a liner if you size desiccant correctly?
We’re fans of hermetic liners for premium shipments or long routes. A liner reduces humidity swings and external ingress, and it improves temperature buffering. But it doesn’t remove the moisture that’s already inside with the coffee and air. In our experience, you still need 2–6 kg of CaCl₂ inside a liner. Without a liner, rely on the full quantities above. The choice is “container liner vs desiccant” only when budgets are tight and routes are short. On tropical routes longer than a month, we prefer both for specialty lots.
Where do you put the desiccant so it stops container rain?
Here’s our desiccant placement guide for a 20 ft coffee load.
- Hang strips along both side walls using lashing points. Keep them below the roof corrugations so they intercept drip lines before condensate falls on bag tops.
- Put one strip on each door jamb near the top. Doors are condensation hotspots.
- Avoid placing desiccants directly above aisle gaps where airflow can be too strong. Moderate airflow over the desiccant works best.
- Use only breathable kraft slip sheets over the top layer if you must cover it. Never trap moisture with plastic tarps under the roof. Plastic above coffee is a classic mistake that forces condensate to collect and drop as “rain.”
Common mistakes we still see
- Loading coffee at 12.5–13% MC because the meter read “OK.” If aw is above 0.60, mold risk is real even at 12%. We’ve rejected plenty of lots for this reason.
- Using silica gel because it’s cheaper. It underperforms in high humidity. The cost of one rejected pallet dwarfs the savings.
- Hanging 4–6 strips “for show” in a monsoon route. It looks sensible. It isn’t. Size by route and season, or budget for claims.
- Placing desiccants on the top of stacks. They end up buried and ineffective. Moisture rises and condenses at the roof and doors. That’s what you fight.
Quick answers to what buyers ask us most
How many desiccant units do I need for a 20-foot container of green coffee?
Use 8–10 kg CaCl₂ for temperate 30–45 day routes. Use 10–14 kg for tropical or rainy-season segments. Use 14–18 kg for 45–60 days or transshipments. Use 18–20 kg for >60 days or big season changes.
Is calcium chloride better than silica gel for coffee shipments?
Yes for containers. Calcium chloride works at high RH and stores 200–300% of its weight as brine. Silica gel’s capacity is lower and it tails off in the exact conditions that cause container rain.
Do I still need desiccants if I use a hermetic liner for green coffee?
Yes. Use 2–6 kg inside the liner to capture moisture brought in with the cargo and the trapped air. Liners reduce ingress, they don’t erase internal moisture.
Where should I place desiccant bags to stop container rain over coffee sacks?
Hang strips along side walls 20–30 cm below the roof and near the doors. Don’t put plastic sheets over the top layer. Use kraft paper if needed.
How do route, season, and transit time change desiccant requirements for coffee?
Longer time, wetter seasons, more transshipments, and tropical climate bands all push you up a bracket. We size for the worst week of the voyage, not the average.
What water activity is safe for shipping green coffee without mold risk?
≤0.60 aw. We like 0.50–0.58 for long voyages. Moisture content of 10.0–11.5% and aw ≤0.60 is our standard for export lots such as Sumatra Robusta Green Coffee Beans, which we cap at ≤13% MC for stable storage.
How can I verify if the desiccants worked when the container arrives?
- Photograph desiccant strips and record their weight gain if possible. Most CaCl₂ strips have a brine pouch level indicator.
- Inspect roof and top bag layers for drip marks or salt stains. A dry top row and brine-filled pouches are a good sign.
- Spot-check MC and aw on arrival. If aw is still in the 0.50–0.60 range, your moisture control held.
Pre-shipment checklist you can reuse
- Coffee MC 10.0–11.5%. aw ≤0.60 confirmed on a representative sample.
- Container roof and vents intact. No fresh water residue in floorboards.
- Liner decision made. If yes, confirm seal integrity and keep 2–6 kg CaCl₂ inside.
- Desiccant sized by route, time, and season. 20 ft coffee benchmark: 10–14 kg for tropical 30–45 days.
- Strips counted, evenly spaced on side walls and at doors. No plastic on the top layer.
- Photos taken at loading to document placement.
What’s changed lately and why this matters now
The last few months have brought stickier humidity windows on several Asia–EU and Asia–US routes, with more schedule variability. We’ve seen otherwise “safe” summer shipments condense during unexpected cold snaps near destination. The reality is you don’t control the weather or a feeder vessel delay. You do control your moisture plan. Size for the worst week, and you’ll sleep at night.
If you’d like us to sanity-check your lane and season, share your route and timing and we’ll suggest a desiccant plan. Need a quick answer for your shipment? Contact us on whatsapp. And if you’re sourcing Indonesian green coffee, you can review our export-ready lots here: View our products.